CheckBoxを使ってみる
今回はチェックボックスを使ってみます。
開発環境
- Android Studio 3.3
- Mi MIX 3
- Androidバージョン 9 PKQ1.180729.001
レイアウト
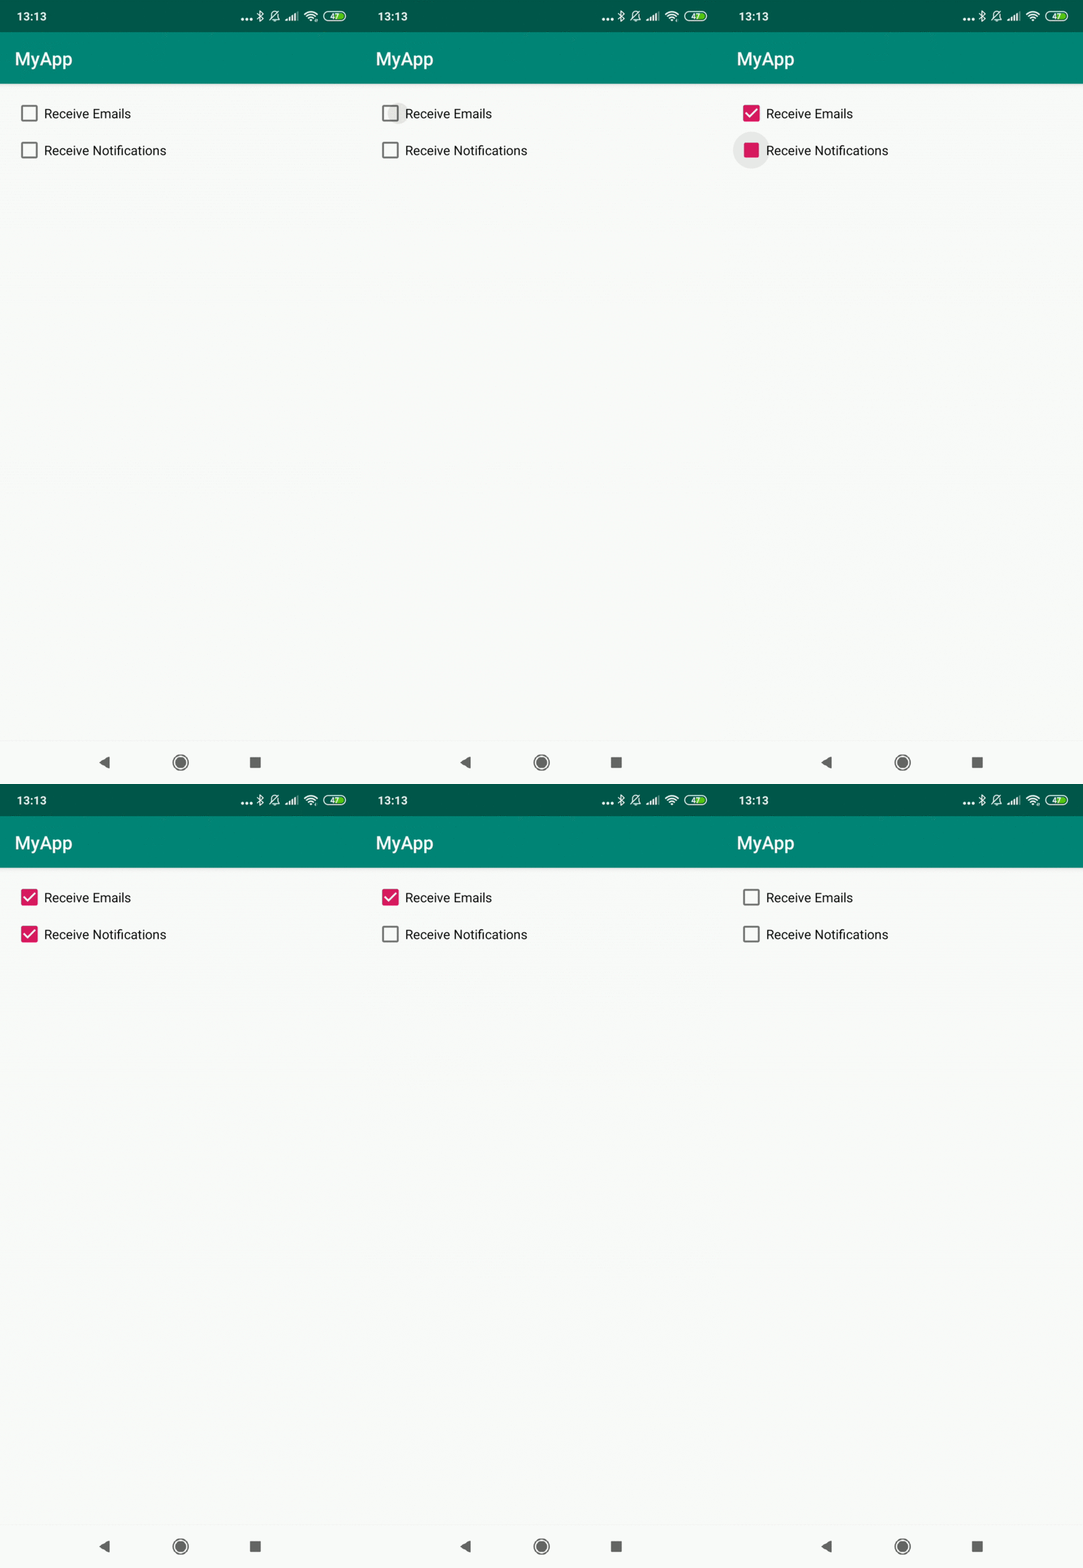
まずはレイアウト。 チェックボックスを2つ縦に並べてみました。
<?xml version="1.0" encoding="utf-8"?>
<android.support.constraint.ConstraintLayout
        xmlns:android="http://schemas.android.com/apk/res/android"
        xmlns:tools="http://schemas.android.com/tools"
        xmlns:app="http://schemas.android.com/apk/res-auto"
        android:layout_width="match_parent"
        android:layout_height="match_parent"
        tools:context=".ui.MainActivity">

    <CheckBox
            android:text="@string/checkbox_receive_email"
            android:layout_width="0dp"
            android:layout_height="wrap_content"
            android:id="@+id/checkBox1" android:layout_marginTop="16dp" app:layout_constraintTop_toTopOf="parent"
            app:layout_constraintStart_toStartOf="parent" android:layout_marginStart="16dp"
            android:onClick="onCheckboxClicked"
            android:layout_marginEnd="16dp" app:layout_constraintEnd_toEndOf="parent"/>
    <CheckBox
            android:text="@string/checkbox_notification"
            android:layout_width="0dp"
            android:layout_height="wrap_content"
            android:id="@+id/checkBox2" app:layout_constraintStart_toStartOf="parent"
            android:layout_marginStart="16dp" android:layout_marginTop="8dp"
            app:layout_constraintTop_toBottomOf="@+id/checkBox1"
            android:onClick="onCheckboxClicked"
            android:layout_marginEnd="16dp" app:layout_constraintEnd_toEndOf="parent"/>
</android.support.constraint.ConstraintLayout>
onClickイベントを実装する
レイアウトのxmlにandroid:onClick="onCheckboxClicked"の記述がありますが、ここでActivity側のクリックイベントハンドラーと紐づけています。
Activity側のメソッドがこちらです。
fun onCheckboxClicked(view: View) {
    if (view is CheckBox) {
        val checked: Boolean = view.isChecked

        when (view.id) {
            R.id.checkBox1 -> {
                if (checked) {
                    // do something
                } else {
                    // do something
                }
            }
            R.id.checkBox2 -> {
                if (checked) {
                    // do something
                } else {
                    // do something
                }
            }
        }
    }
}
上記は1つのメソッドを2つのチェックボックスで共有しているため、viewのidからどちらのチェックボックスのイベントかどうかを判定しています。 複雑になりそうならチェックボックス毎にメソッドを分けたほうがいいかもしれませんね。
実行結果
